Homemade Green Tomato Relish: A Sweet and Tangy End-of-Season Treat
As the gardening season winds down and the chill of autumn approaches, many gardeners find themselves with an abundance of unripe green tomatoes. While fried green tomatoes are a classic, what about those golf-ball-sized gems that are just a little too small for a good dredge and fry? Don't let them go to waste! Transform them into a vibrant, tangy, and subtly sweet homemade green tomato relish. This versatile condiment is not only a fantastic way to utilize your late-season harvest, but it also adds a burst of complex flavor to everything from grilled meats to sandwiches and hot dogs. In this comprehensive guide, we'll delve into crafting a delicious green tomato relish, incorporating sweet peppers for extra flavor and color, Truvia as a sugar substitute, and essential canning tips to preserve your culinary masterpiece.
The Allure of Homemade Green Tomato Relish
There’s something uniquely satisfying about a homemade relish. Unlike store-bought varieties, crafting your own green tomato relish allows for complete control over ingredients, ensuring freshness and the ability to tailor flavors to your preference. It’s a true celebration of the harvest, turning what might otherwise be compost into a pantry staple. The beauty of green tomatoes in relish lies in their inherent tartness and firm texture, which holds up wonderfully during the cooking process, contributing a delightful crunch and tang that ripe tomatoes simply can't offer.
Beyond its practicality, this relish offers a unique flavor profile: a delightful interplay of tart tomatoes, sweet peppers, sharp onion, and aromatic spices, all balanced by a touch of sweetness. It’s a condiment that elevates simple dishes, providing a counterpoint to rich flavors and adding a refreshing brightness. Imagine slathering it on a hot dog, pairing it with a juicy burger, or even serving it alongside roasted chicken or pork. The possibilities are endless, and each spoonful carries the taste of your hard work and the essence of the season.
Gathering Your Green Tomato Relish Ingredients: Beyond the Basics
The foundation of any great green tomato relish lies in its ingredients. While green tomatoes are the star, the supporting cast of vegetables and spices truly brings the relish to life. Let's explore each component:
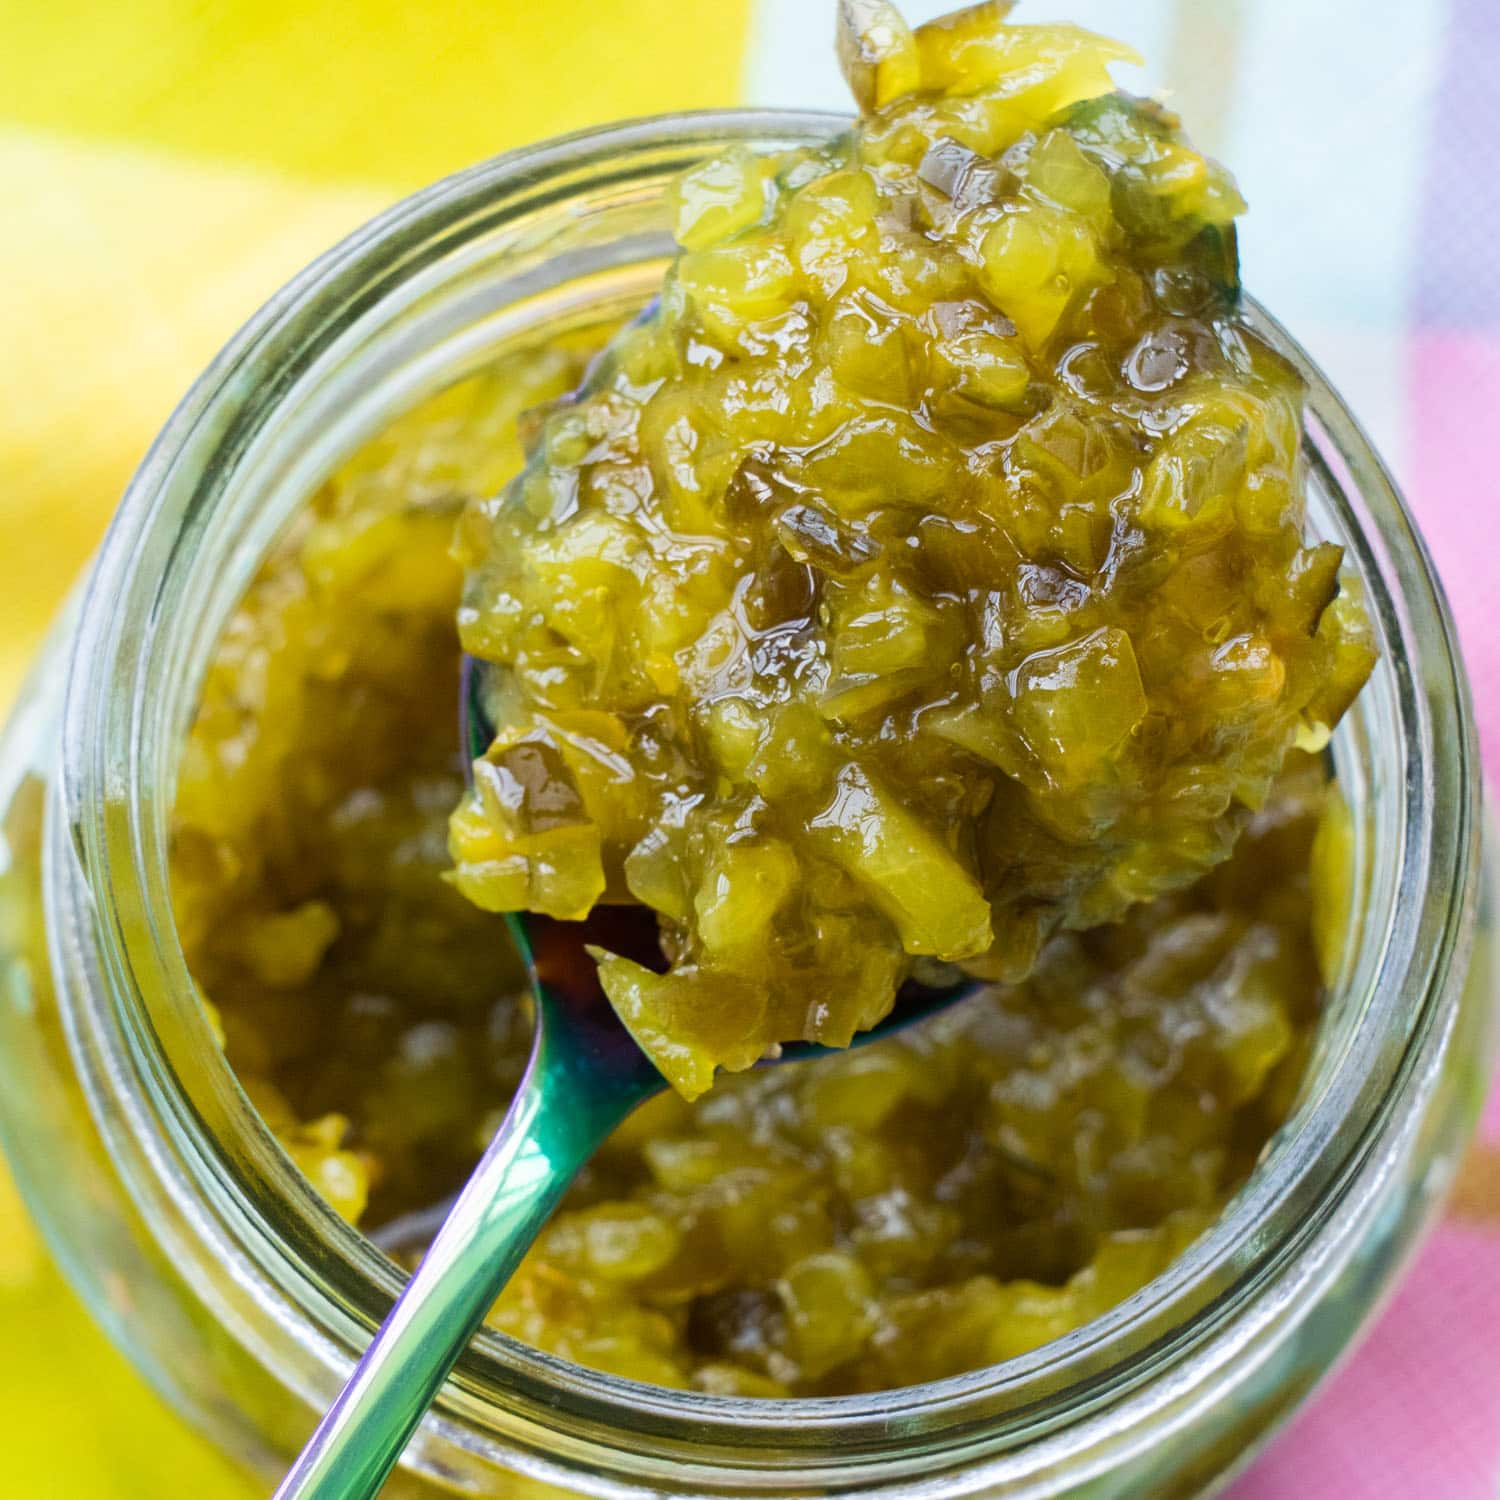
- Green Tomatoes: Focus on firm, unblemished green tomatoes, ideally about golf-ball size or slightly larger. These smaller, harder tomatoes are perfect as they retain their shape and tartness. Wash them thoroughly and remove any stems or soft spots. Their inherent solidity makes them ideal for shredding or dicing without becoming mushy.
- Sweet Peppers: To add layers of flavor, sweetness, and visual appeal, incorporate an assortment of sweet peppers. Green, red, yellow, and even purple bell peppers or mild Italian frying peppers work beautifully. They provide a delightful sweetness that complements the tartness of the tomatoes. Clean and deseed them thoroughly.
- Onions: Onions are crucial for that classic relish bite. While yellow onions are a staple, consider using red onions, especially if you have an abundance that needs to be used quickly, as they tend to have a shorter shelf life. They also contribute a beautiful color to the mix.
- Jalapeños (Optional Zing): For those who appreciate a little heat, a few jalapeño peppers can add a delightful kick. Remember to remove the caps, but for convenience and to utilize all the heat (which resides mainly in the seeds and membrane), you can process the rest of the pepper. Adjust the quantity to your preferred spice level – a little goes a long way!
- Truvia: The Sweetener of Choice: Traditional relishes often call for a significant amount of sugar. However, for a lower-calorie or sugar-conscious option, Truvia (a blend of stevia leaf extract and erythritol) is an excellent substitute. It provides a clean, natural sweetness without the added calories or glycemic impact of sugar. It integrates well into the relish, providing that essential sweet-tangy balance. Ensure you use a canning-safe recipe when substituting sugar, as sugar itself is not a primary preservative in relishes (vinegar is).
- Vinegar: White vinegar or apple cider vinegar are commonly used. Their acidity is vital for both flavor and canning safety. Choose a vinegar with at least 5% acidity.
- Spices: Mustard seed and celery seed are hallmark spices for a classic relish. These seeds add a pungent, earthy depth that is irreplaceable. Other optional additions could include a pinch of turmeric for color, or a dash of allspice for a warmer note, though keeping it simple often highlights the fresh vegetable flavors best.
Streamlining Your Prep: Food Processor Hacks for Relish
Preparing a batch of green tomato relish can be time-consuming, especially when it comes to chopping all those vegetables. This is where a food processor becomes your best friend, offering a significant shortcut without sacrificing quality.
Food Processor vs. Hand-Chopping: While hand-dicing each vegetable can yield perfectly uniform pieces, it’s a labor-intensive task. For speed and efficiency, especially when dealing with a quarter-basket of tomatoes and an abundance of peppers, the food processor is invaluable. Using a grater or shredder blade can quickly break down the bulk of your vegetables into consistent pieces. You may find, as our reference notes, that some larger chunks remain, which can easily be picked out and diced by hand to ensure a more uniform texture.
Tips for Consistent Texture:
- Use the Right Blade: A grater or shredder blade works wonderfully for green tomatoes and sweet peppers. For onions and jalapeños, you might use the S-blade in pulses to avoid over-processing them into a paste.
- Process in Batches: Don't overload your food processor. Work in smaller batches for more consistent results.
- Combine Smartly: Process harder vegetables like green tomatoes first, then add the softer sweet peppers and onions. If using jalapeños, process them with the onions.
The Crucial Draining Step: Green tomatoes and other vegetables contain a lot of water. Skipping the draining step will result in a watery relish. After processing your vegetable mix (aim for approximately 2/3 tomatoes and 1/3 other vegetables like peppers, onions, and jalapeños), transfer it to a colander set over the sink. Allow it to drain for at least an hour. For even better results, you can gently press down on the vegetables every 15-20 minutes to help expel more liquid. This step concentrates the flavors and ensures your relish has the perfect consistency.
Scaling Your Recipe: When using a new recipe, or adapting one to your specific harvest yield, measuring your raw vegetable mix is key. The reference used a pint jar as a rough measure, yielding four pints of raw mix. This is an excellent technique! If your original recipe calls for 12 pints of raw mix and you only have four, you can easily divide all other ingredients (spices, Truvia, vinegar) by three. This flexible approach means you can make a delicious batch of green tomato relish regardless of the exact size of your harvest.
Mastering the Cook and Canning Process
Once your vegetables are prepped and drained, it's time to bring your relish to life and preserve it for long-term enjoyment. Proper cooking and canning techniques are essential for both safety and quality.
The Simmer: Blending Flavors and Reducing: Transfer your drained vegetable mix to a large stock pot. Add your mustard seed, celery seed, Truvia, and vinegar. Stir everything thoroughly to combine. Bring the mixture to a gentle simmer over medium heat, stirring frequently. Allow it to simmer for about 10 minutes. This cooking time helps to meld all the flavors, soften the vegetables slightly, and reduce some of the liquid further, achieving the ideal relish consistency. Frequent stirring prevents scorching and ensures even cooking.
Canning Essentials for a Safe Seal:
- Sterilize Jars: While your relish simmers, prepare your canning jars. Wash them thoroughly in hot, soapy water, rinse well, and then sterilize them. You can do this by boiling them for 10 minutes, or running them through a dishwasher on a sanitize cycle. Keep the jars hot until filling. Lids should be prepared according to manufacturer instructions, often simmering in hot water to soften the sealing compound.
- Pack Jars: Carefully ladle the hot relish into your hot, sterilized pint jars, leaving ½ inch of headspace. Headspace is crucial for a proper seal.
- Remove Air Bubbles: After filling, gently tap each jar firmly on the counter to settle the contents and release any trapped air bubbles. Use a clean, non-metallic utensil (like a plastic canning tool or wooden skewer) to run around the inside of the jar, pressing against the contents to release more bubbles. Adjust the headspace if necessary, adding more relish if it has settled too much.
- Clean Rims and Seal: Wipe the rims of the jars clean with a damp paper towel. Any food residue can prevent a good seal. Place the hot lids on the jars and screw on the bands fingertip tight (just until resistance is met, don't overtighten).
Water Bath Canning: Your Preservation Method:
For acidic foods like green tomato relish (thanks to the vinegar), a boiling water bath canner is the appropriate preservation method. Place your filled and sealed jars into the canner, ensuring they are fully submerged in water (at least 1 inch above the jar tops). Bring the water to a rolling boil.
- Processing Time: For most altitudes, a 20-minute processing time in a boiling water bath is sufficient for pint jars of relish.
- Altitude Adjustments: If you live at a higher altitude (as our reference notes), you'll need to increase the processing time. For every 1,000 feet above sea level, add an additional 5 minutes to the processing time. For example, if you're at 1,000-3,000 feet, process for 25 minutes; at 3,001-6,000 feet, process for 30 minutes, and so on. Always consult official canning guidelines for precise altitude adjustments.
Once the processing time is complete, turn off the heat and carefully remove the jars from the canner, placing them on a clean towel or wire rack to cool undisturbed for 12-24 hours. You should hear the satisfying "pop" of the lids sealing. After cooling, check the seals by pressing on the center of the lid – if it doesn't flex, it's sealed. Any unsealed jars should be refrigerated and consumed within a few weeks (like the half-pint leftover from our reference recipe).
A Versatile Pantry Staple
The beauty of homemade green tomato relish is a rewarding process that transforms your late-season harvest into a delicious, long-lasting pantry staple. By incorporating sweet peppers for extra flavor and color, and using Truvia for a healthier sweetness, you create a vibrant condiment that will brighten meals throughout the year. With careful preparation and proper canning techniques, you'll be enjoying the sweet and tangy goodness of your own homemade relish, a true testament to the joys of gardening and home preserving.
